PS5 PRO HDMI Replacement
PS5 HDMI Port Not Working – How to Diagnose and Fix No Signal Issue
If your PS5 has no signal, no image on the screen, or the HDMI connection only works when the cable is moved — the HDMI port may be damaged.
👉 Before opening the console, check if the system is actually working.
Look for a solid white light.
● Quick Check – Is Your PS5 Working?
- Turn on the console.
- Look for a solid white light.
- Connect a controller.
- Open gamepad tester and press buttons.
- If inputs are detected → console works, HDMI is likely the issue.
● Common HDMI Issues
- Visible mechanical damage inside the port
- Signal appears/disappears when moving the cable
- No video or audio output at all
● Diagnostics
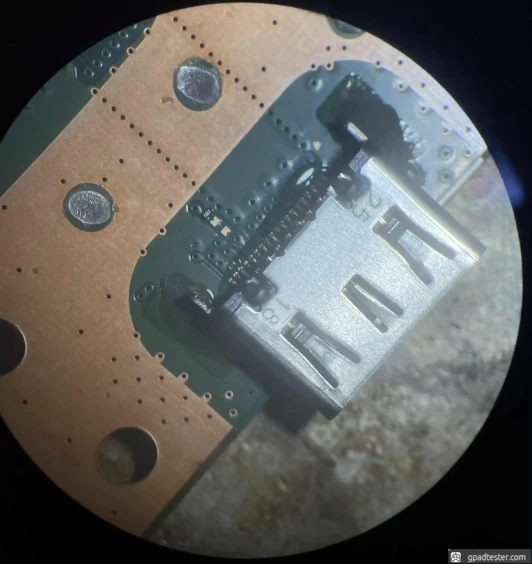
- Inspect HDMI port for bent or broken pins.
- Check console LED (white = system is running).
- Confirm controller input works.
- Perform a diode test – compare readings with reference values below.
HDMI diode test: PS5 FAT
GND
1
OL
2
0.07
3
0.84
4
0.84
5
0.07
6
0.84
7
0.84
8
0.07
9
0.84
10
0.84
11
GND
12
13
GND
14
0.07
15
0.84
16
0.70
17
OL
18
0.69
19
0.69
20
0.07
21
0.56
22
0.70
23
OL
24
GND
HDMI diode test: PS5 PRO
GND
1
0.85
2
0.07
3
0.85
4
0.85
5
0.07
6
0.85
7
0.85
8
0.07
9
0.85
10
0.85
11
GND
12
13
GND
14
0.07
15
0.85
16
0.71
17
OL
18
0.70
19
0.70
20
0.07
21
0.64
22
0.70
23
OL
24
GND
● HDMI Port Replacement
This repair requires experience – incorrect technique can damage the motherboard.
- Preheat the board to ~160°C. Use hot air at ~420°C (airflow 2–3).
- Apply flux and a small amount of fresh solder.
- Heat evenly until solder melts completely.
- Carefully remove the HDMI port.
- Watch out for nearby SMD components — they are easy to move or damage.
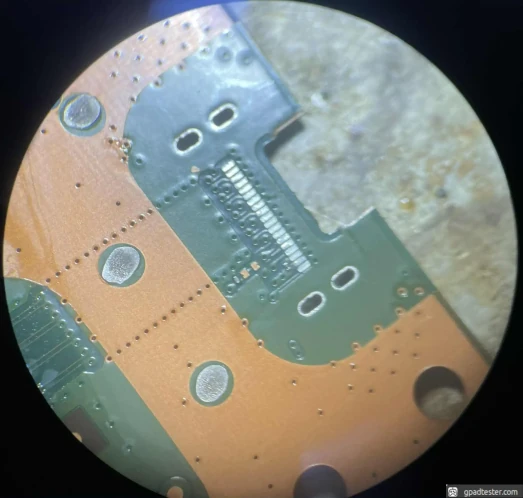
- Clean pads thoroughly.
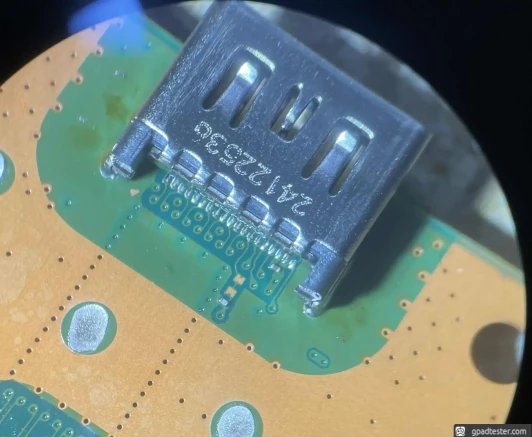
- Align and solder the new HDMI port.
● Testing After Repair
- Repeat diode test and compare values.
- Connect PS5 to a TV or monitor.
- Check if image is stable and not flickering.
- Verify audio output works correctly.
👉 If the console works but you had no signal before — HDMI replacement solved the issue.
● Gallery